Making My Own Lomo Wall
I mentioned in my last post a few weeks ago that I was working on renovating our family room. One thing that became clear as I worked on it was that we needed something to hang above the couch, something fairly sizable. The wall would look pretty blank otherwise. One of the cameras I’ve been shooting with over the past year is a Lomo LC-A, which I bought from the Lomographic Society International. The LSI is noted for its expertise in marketing above all else (who else could sell a $20 camera like the Holga for $70?), and one of the things they do to promote their cameras is to periodically create a Lomo Wall somewhere or other in the world, usually in conjunction with something like the Lomography Congress that happened a couple of months ago in London.
So it occurred to me, why should they have all the fun? I can create my own Lomo Wall.
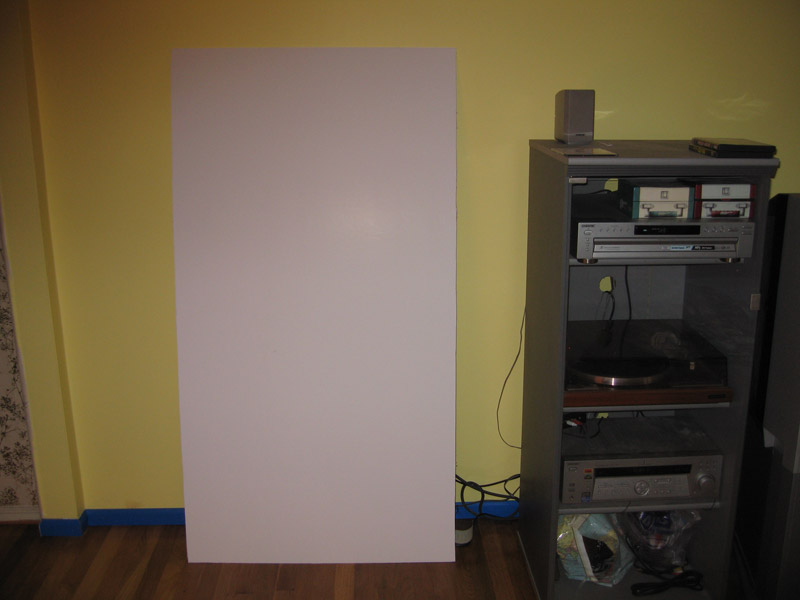
I went to the local art supply store and found a piece of foam core measuring 40 inches tall and 60 inches wide. Unfortunately, that size wouldn’t fit in my car, so I had to ask them to cut it down a bit, which I think actually worked a bit better. I ultimately wound up with a piece of foam core 32 inches tall and 60 inches wide. With each photograph measuring 4 × 6, I could fit 80 photographs on it.
The whole thing wound up costing me about $35, if you don’t figure in the cost of developing and printing the film, which I was doing anyway. And it was dead easy to make. Here’s what I did.
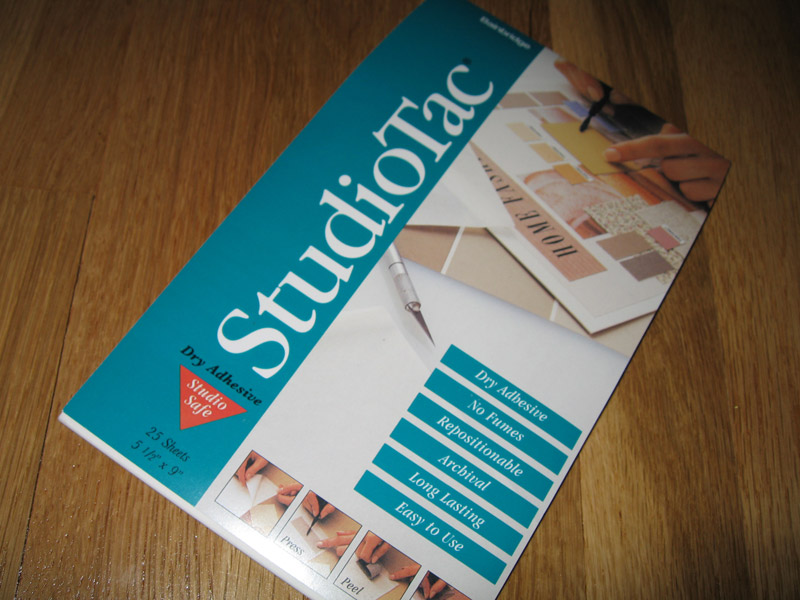
I had the idea that I wanted to be able to swap out photos, so it would be great if I could find something like PostIt Note® adhesive that would be easily removable. The guys at the art supply store recommended something called StudioTac.
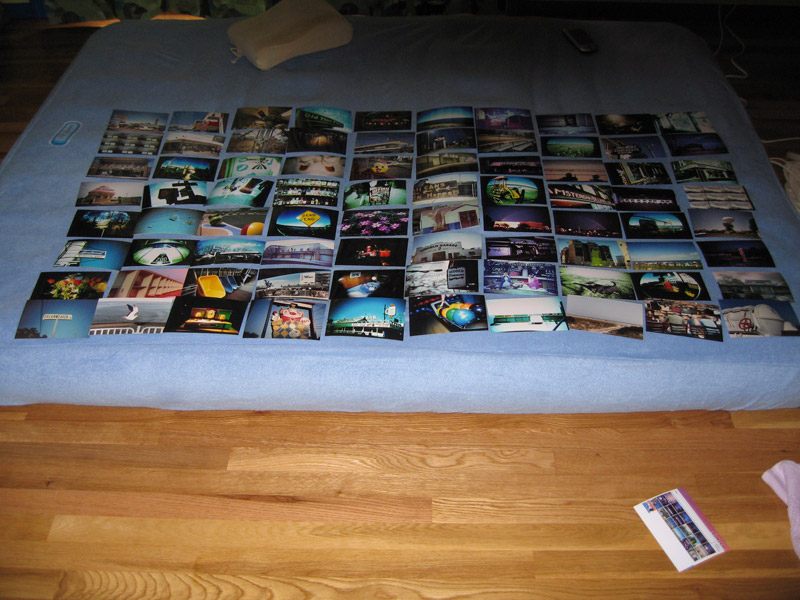
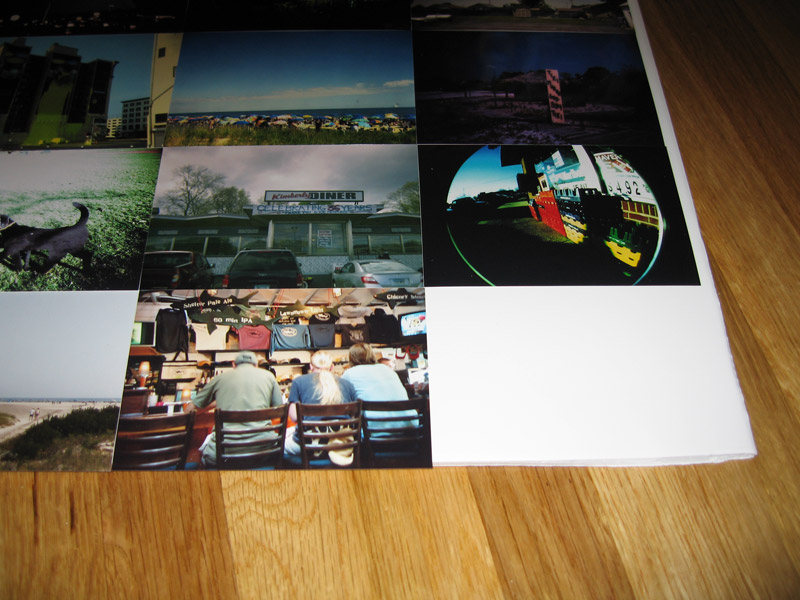
Armed with my foam core and my StudioTac, I set to building my wall. I selected 80 of my photographs, all printed in landscape orientation, that I thought might be interesting, and laid them out, swapping them around until I was happy with their juxtapositions.
Then I started applying the StudioTac. It comes in sheets, but I didn’t need entire sheets, just a small section per photo. So I cut a number of sheets into small strips.

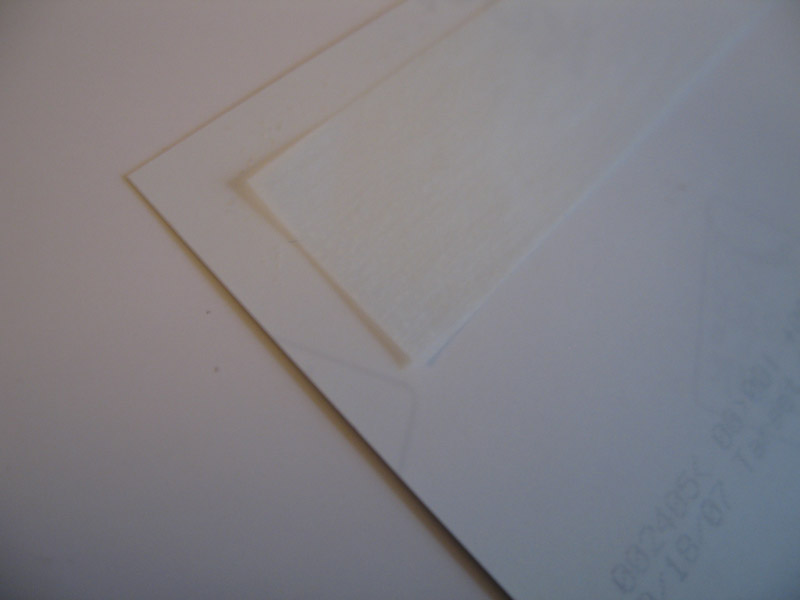
The StudioTac comes as two pieces of paper with little adhesive dots between them. The idea is to peel them apart, then place the strip that contains the adhesive on to the photograph.

After placing the StudioTac paper on the back of the photo, I used a rubber roller on the back to make sure the adhesive adhered to the photo. You could use a burnisher, or a pencil, or your finger, whatever works.
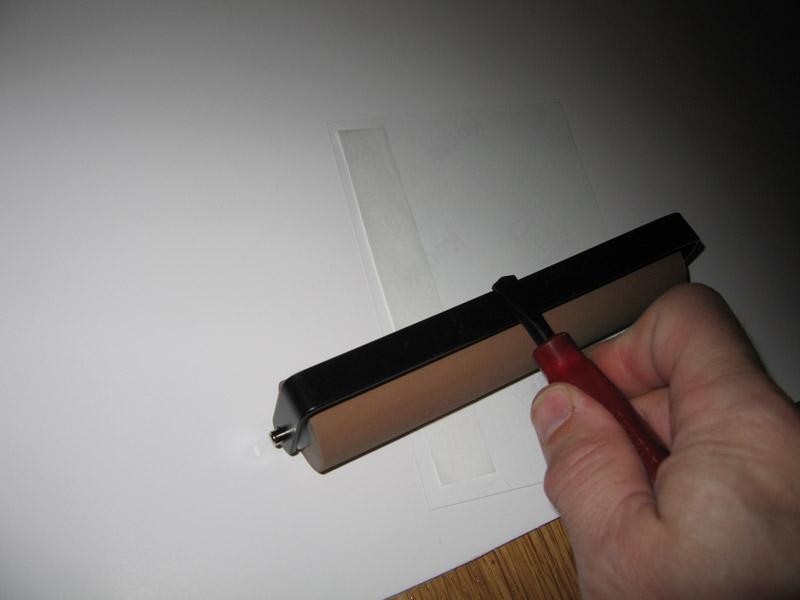
Then I peeled the paper off the back of the photo, and placed the photo in the corner of the foam core.

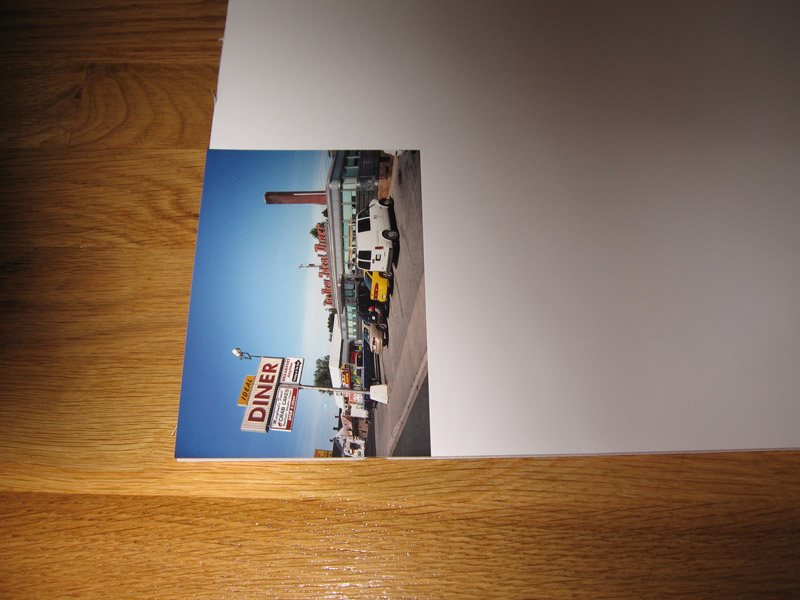
I used the roller on the photo to make sure it stuck to the foam core.

Rinse and repeat.
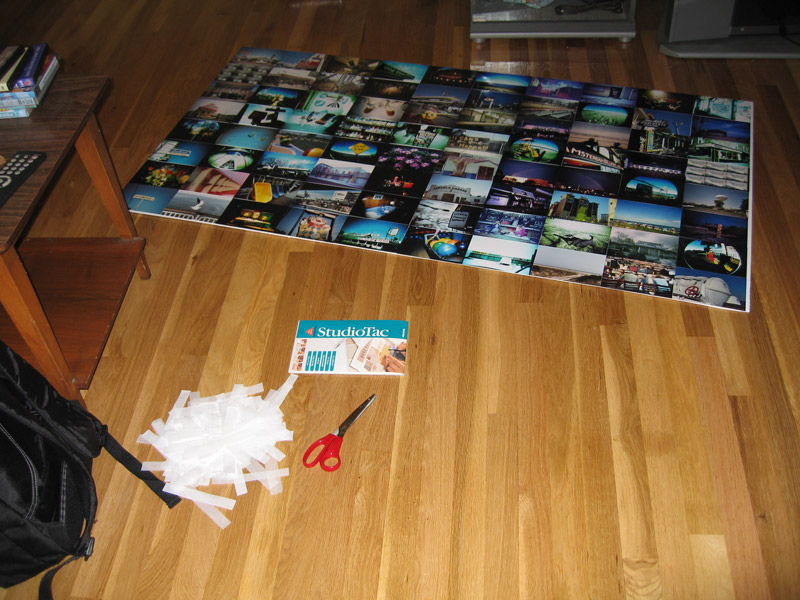
Here’s the Lomo Wall on the floor with all the photos attached and the scrap backing from the StudioTac waiting to be thrown away.
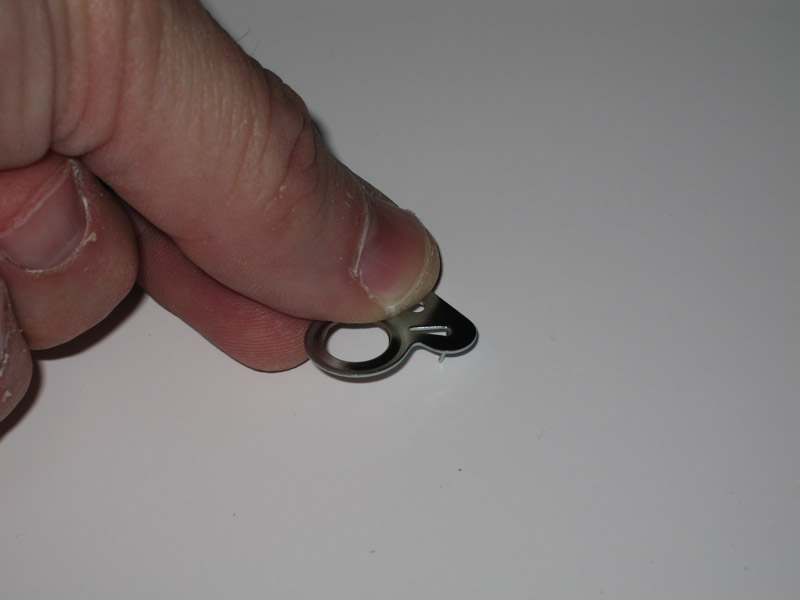
I wasn’t sure exactly how I was going to hang this monstrosity, but didn’t really want to spring for a frame. I went out to A. C. Moore looking for some ideas and came back with these. They’re called Tap On Fasteners. A package of a dozen cost something like 99 cents.

I stuck two fasteners into the back of the foam core.
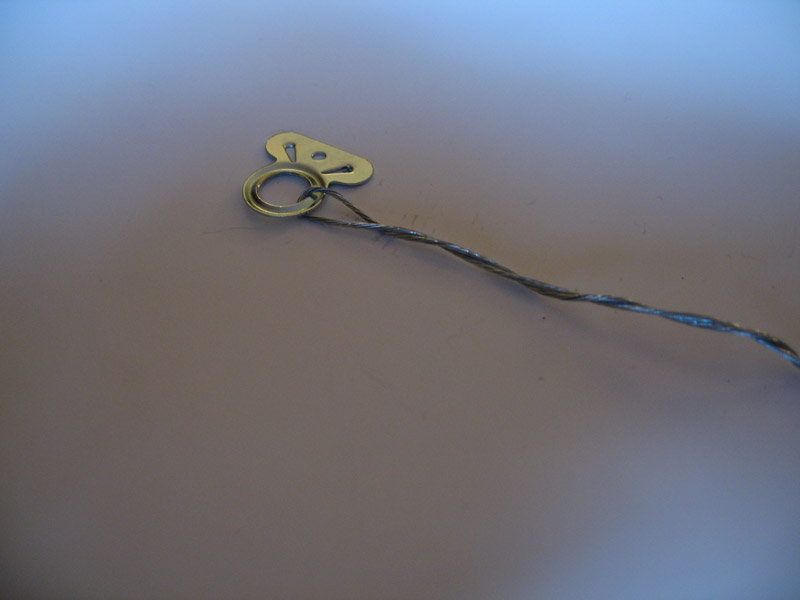
The I got some picture wire, also about 99 cents from A. C. Moore, cut an appropriate length, and looped it through the holes of the fasteners.
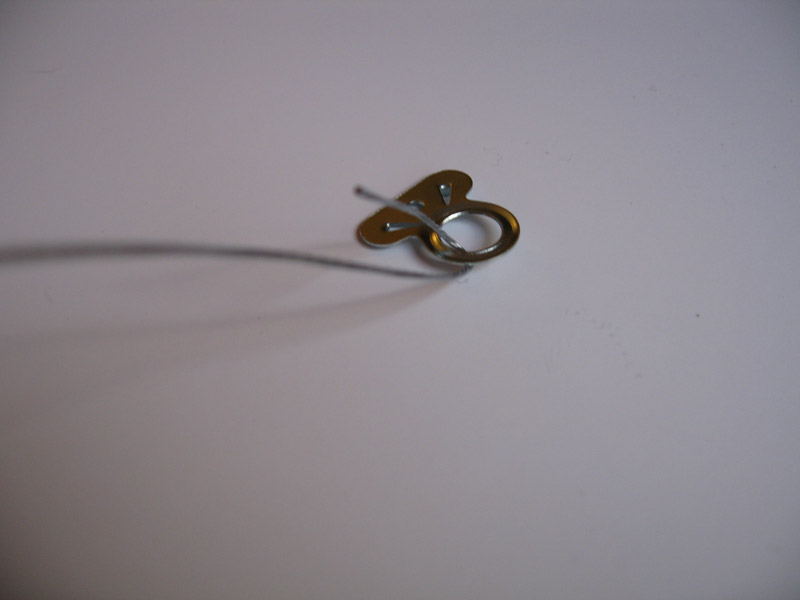
A little bit of twisting....
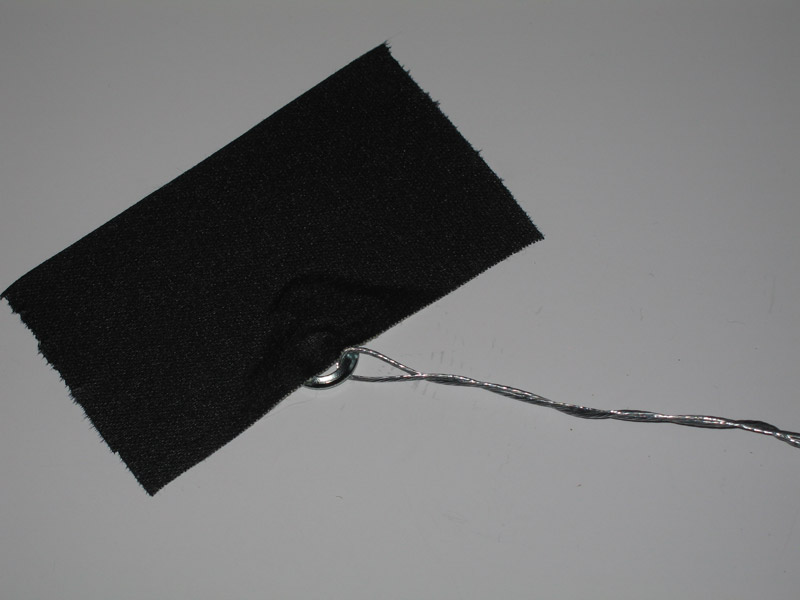
And finally, a little bit of tape to make sure the fasteners stay in. This wouldn’t be necessary if you used them on a wooden frame like they were intended, but with soft foam core, I didn’t trust that they’d stay put on their own.
A couple of nails in the wall, and voila, one Lomo Wall.
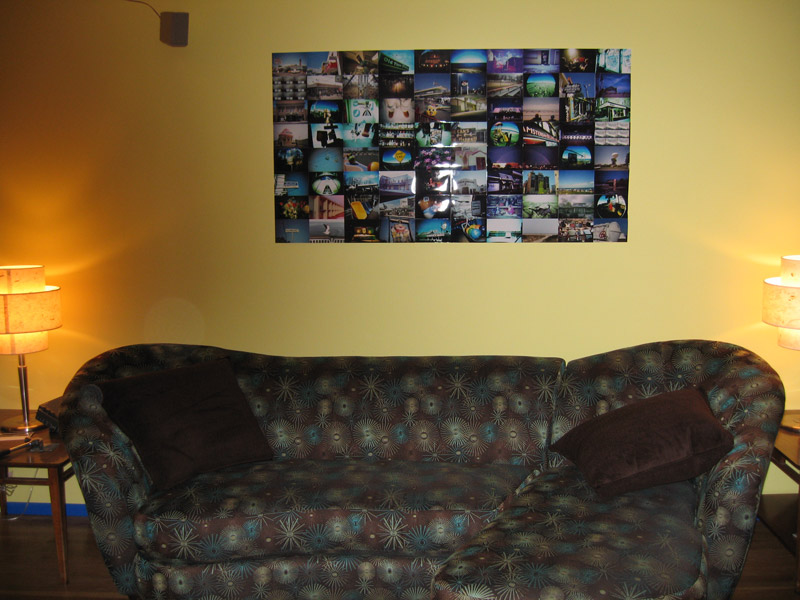
Note that you don’t have to have a Lomo to do this sort of thing. The majority of the photos here are probably from my LC-A, but there are also some from my LSI Fisheye 2, from my Kodak Retina Ia, and even one ringer from my Polaroid 250. I may try to do a smaller version of this with photos from my Holga and Dianas, which measure 5 × 5 each.
Tags: arts and crafts lc-a lomo photography home decor kodak polaroid
Posted at 4:36 PM
That’s sweet! Somewhere in a closet I have a painting by an old roommate mounted on foamcore with that kind of hook in it -- no extra tape or anything -- and it’s held fast for...13? years.
Good tip on the Studio Tac, by the way. I might have to try something like that with some of my pics.
And the new couch is quite groooovy. ;)
Posted by Elaine at 11:36 AM, November 20, 2007 [Link]